To install carpet tiles, let the tiles settle in the room for at least 24 hours, prepare a clean, flat, dry subfloor, snap two crossing chalk lines near the centre, and lay outwards from that point on the specified adhesive, cutting the edge tiles last. Laid this way, every tile stays square and can be lifted later.
Carpet tiles have a reputation as the easy floor to fit, and they are, compared with a roll of broadloom. But the difference between a floor that looks crisp for years and one with gaps, lifting corners and crooked rows is decided before the first box is opened: by the state of the subfloor, the starting lines and the adhesive. Whether you are briefing a contractor or checking the work on site, these are the steps that matter.
Carpet tile installation at a glance
- Acclimatise: unbox the tiles in the room at least 24 hours before laying.
- Prepare: the subfloor must be clean, level, dry and sound.
- Set out: two perpendicular chalk lines fix the grid before any tile goes down.
- Fix: a releasable adhesive holds tiles in place but lets them lift for repairs.
- Finish: cut tiles go at the walls, never in the middle of the room.
What do you need before installing carpet tiles?
The right conditions, a prepared floor and a plan. The industry's commercial installation standard, CRI 104 from the Carpet and Rug Institute, asks for carpet to acclimatise in the installation area for at least 24 hours at roughly 18 to 35°C, with those conditions kept for 48 hours before, during and 72 hours after the work. In practice, that means the air-conditioning is running, the painters have finished and the windows are in before the carpet arrives. You will also need the layout drawing, the adhesive specified for the tiles, a chalk line, a long straightedge, a tape, and sharp carpet knives with plenty of spare blades.
How do you prepare the subfloor?
Make it clean, flat, dry and firm. Scrape off old adhesive, plaster splashes and paint, then vacuum thoroughly. Fill cracks and grind down high spots; a bump in the screed will telegraph through the carpet as a visible ridge. Loose or hollow floor tiles must be fixed before carpet goes over them. On new concrete or screed, test the moisture: CRI 104 requires a written moisture and alkalinity report before glue-down carpet tiles are installed, because a damp slab can break down adhesive and cause tiles to lift. Our team will recommend the preparation and adhesive for your subfloor.
Where do you start laying carpet tiles?
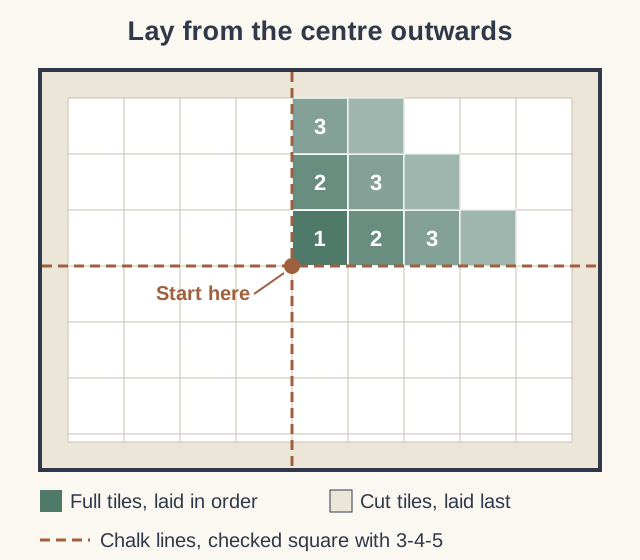
Usually near the centre of the room, where two perpendicular chalk lines cross, unless the design calls for a different start. Measure the room in both directions and mark the middle, then adjust the lines so the tiles at opposite walls end up roughly the same size, and never as slivers narrower than about half a tile. Check the lines are truly square with a 3-4-5 triangle: 3 metres along one line, 4 metres along the other, and the diagonal between those points should measure exactly 5 metres. Any error here is multiplied across the whole floor.
Step by step: laying the field
- Apply the specified adhesive to one quadrant and let it reach the tack the manufacturer specifies; releasable adhesives are left to dry to a tacky film.
- Lay the first tile tight into the corner of the chalk lines, then build out in a stepped pyramid so every new tile is pushed against two neighbours.
- Slide each tile into place rather than dropping it, so pile is not trapped in the joint.
- Where the tiles carry direction arrows on the back, follow them for the layout you chose: all one way for a monolithic floor, turned for a quarter-turn pattern.
- Check every few rows that the joints still run straight along the chalk lines.
- Complete the field in each quadrant before cutting anything at the walls.
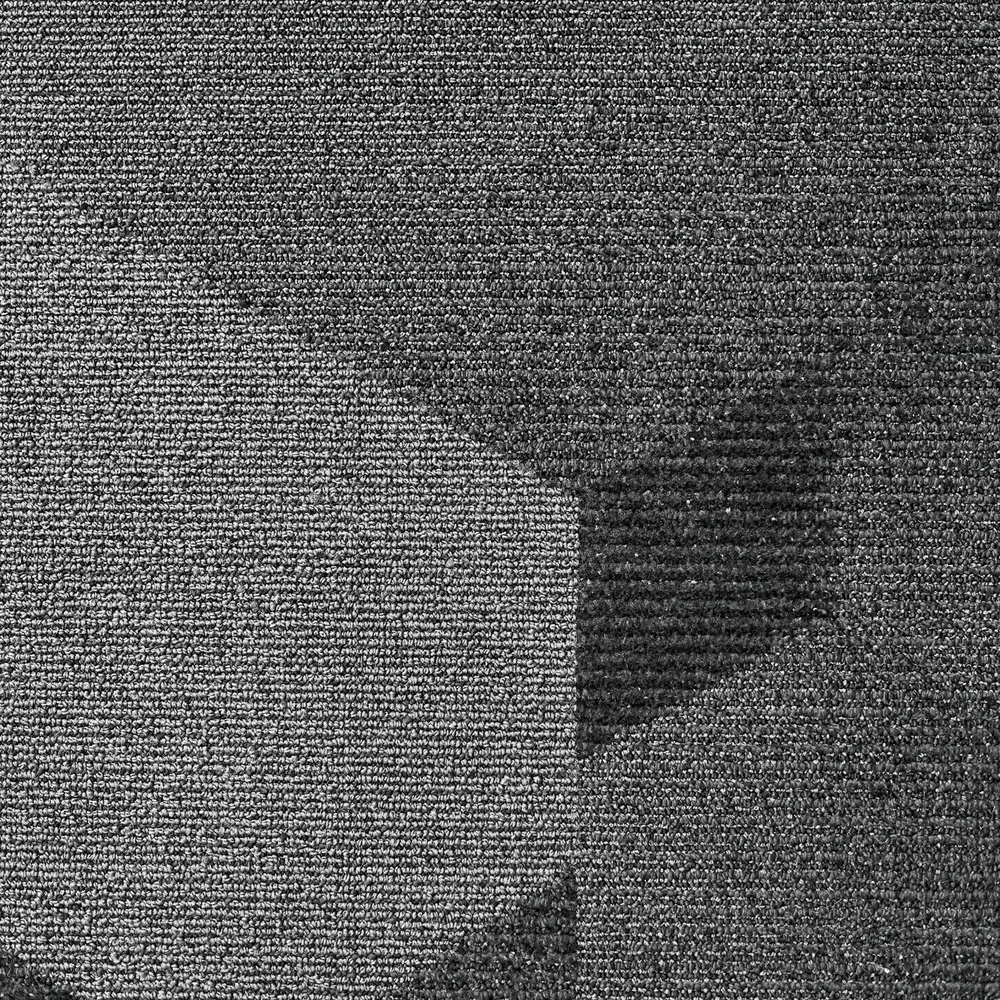
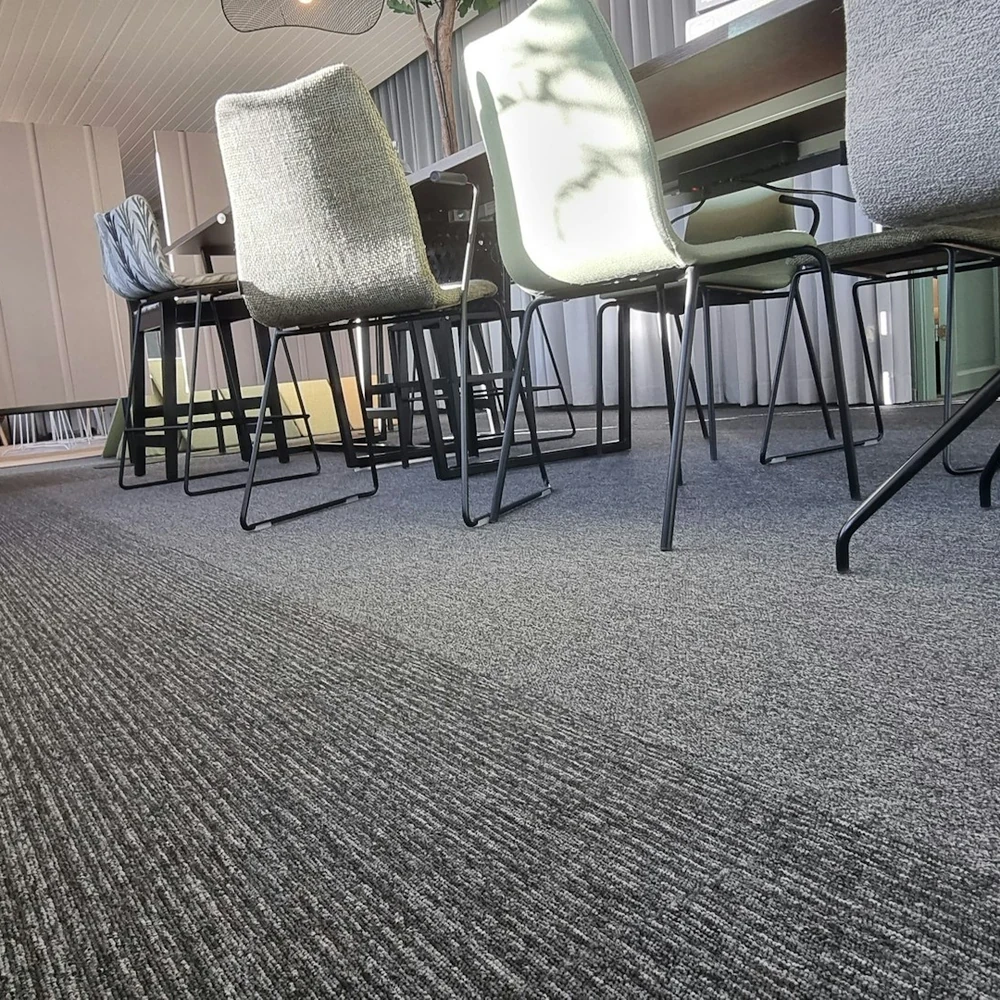
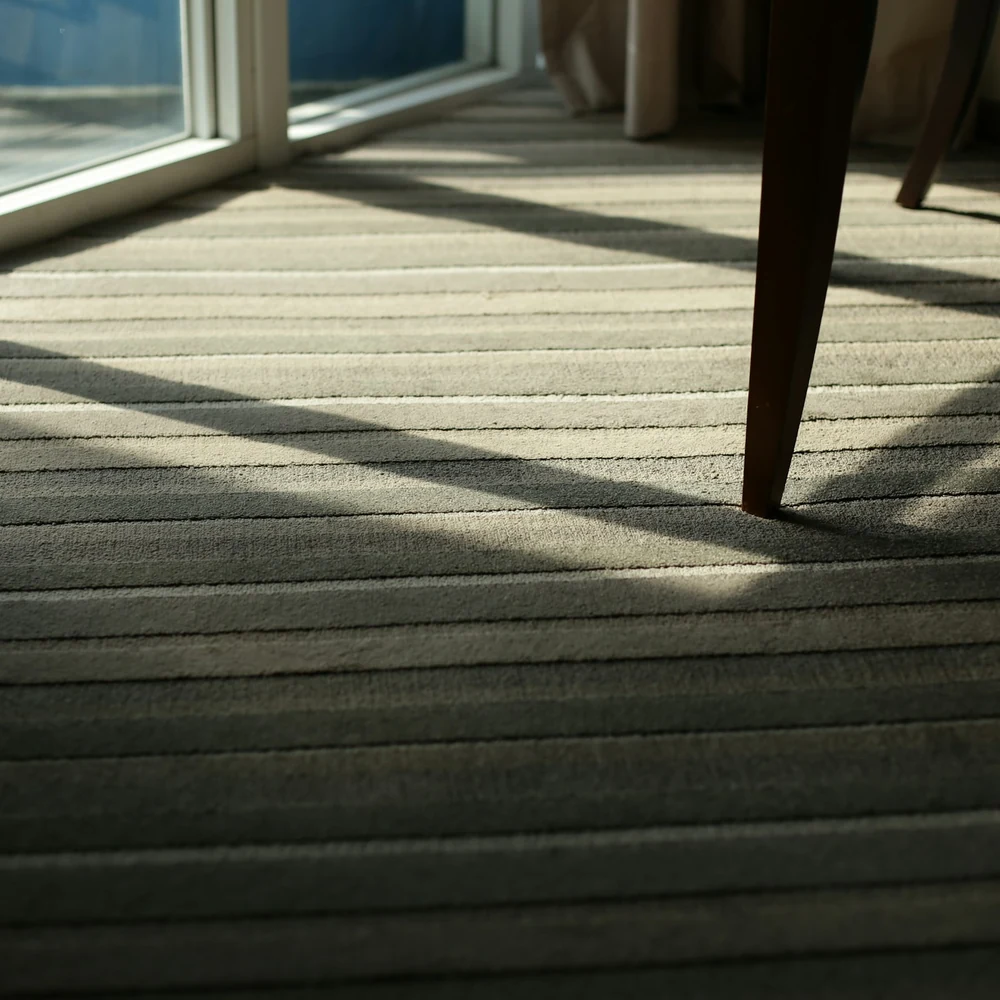
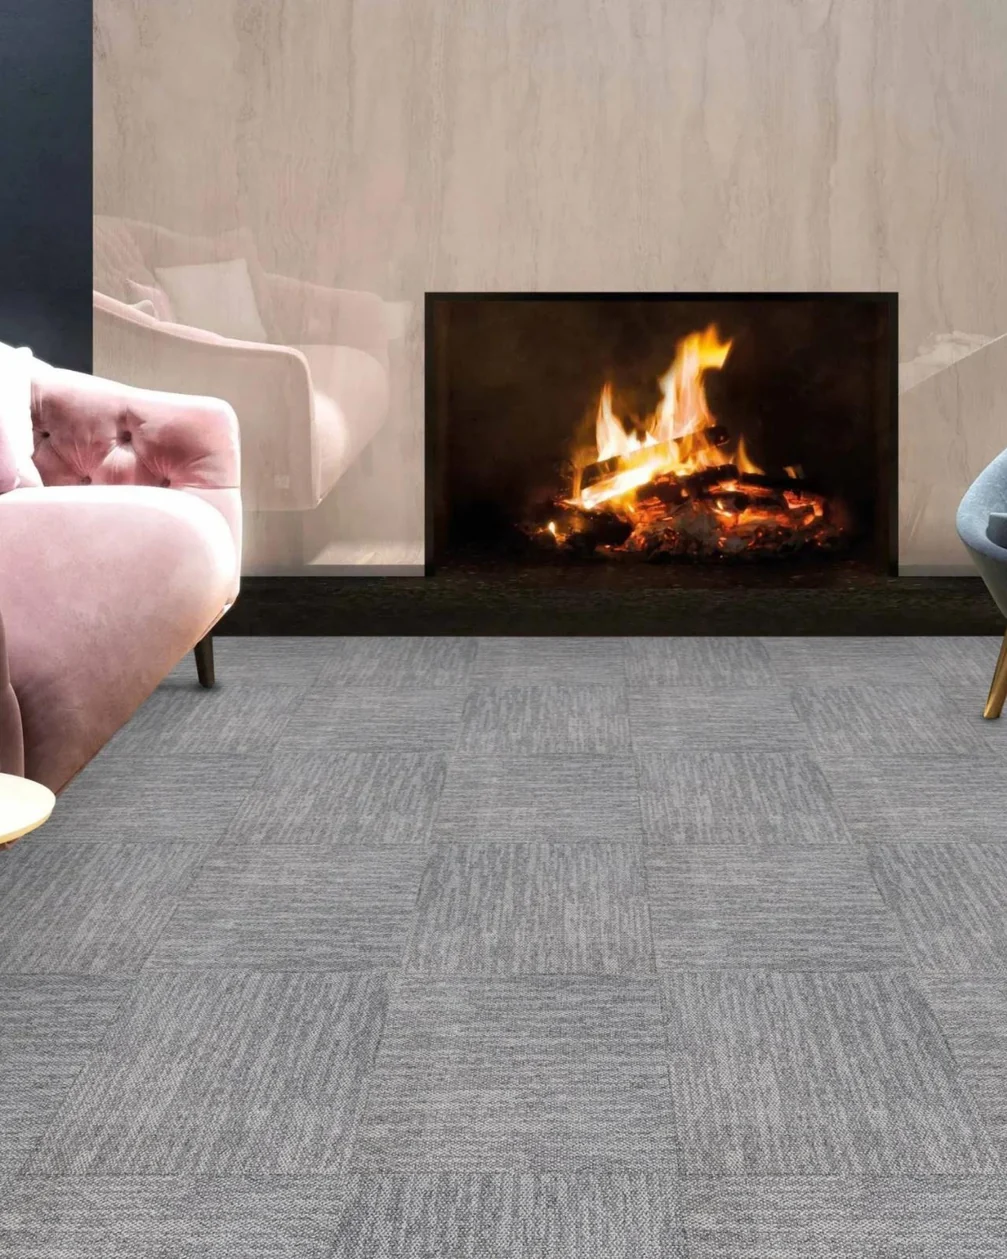
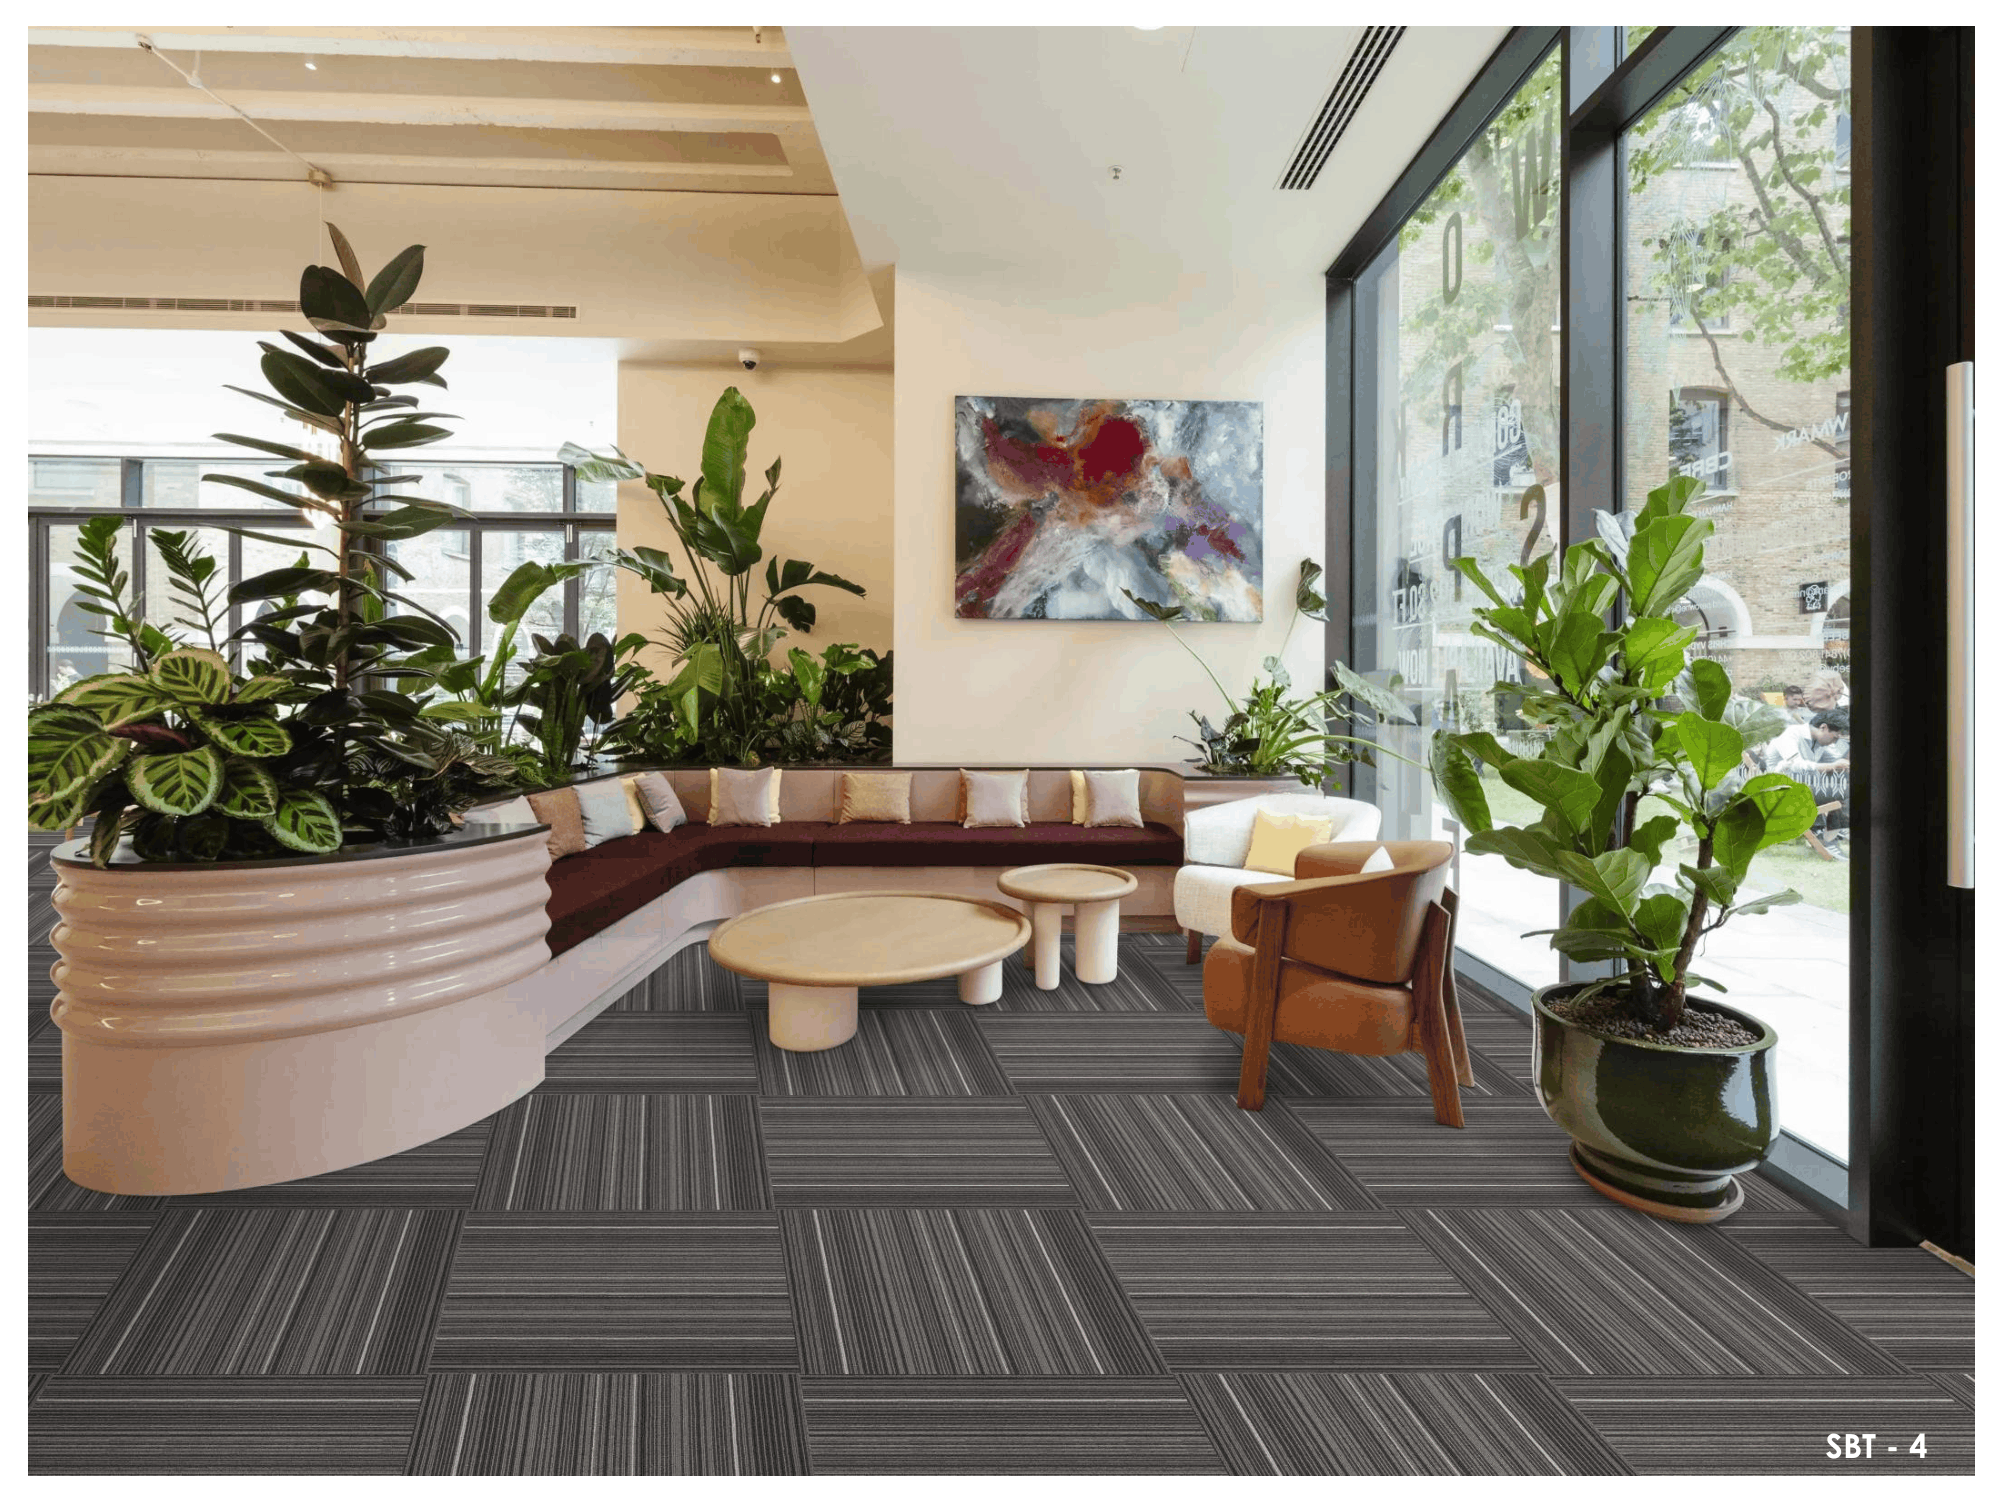
What good installation looks like: tight, straight joints, a pile that runs one way, and no edges catching the light.
How do you cut carpet tiles at the walls?
From the back, with a sharp knife and a straightedge. Lay the tile to be cut exactly on top of the last full tile, place another full tile on top of that pushed against the wall, and draw along its edge: the uncovered strip of the middle tile is the piece you need. Turn it over, cut along the line in one firm pass, and press it into place. Change blades often, because a blunt blade frays the edge. Around pipes and door frames, make a card template first.
Which layout should you use?
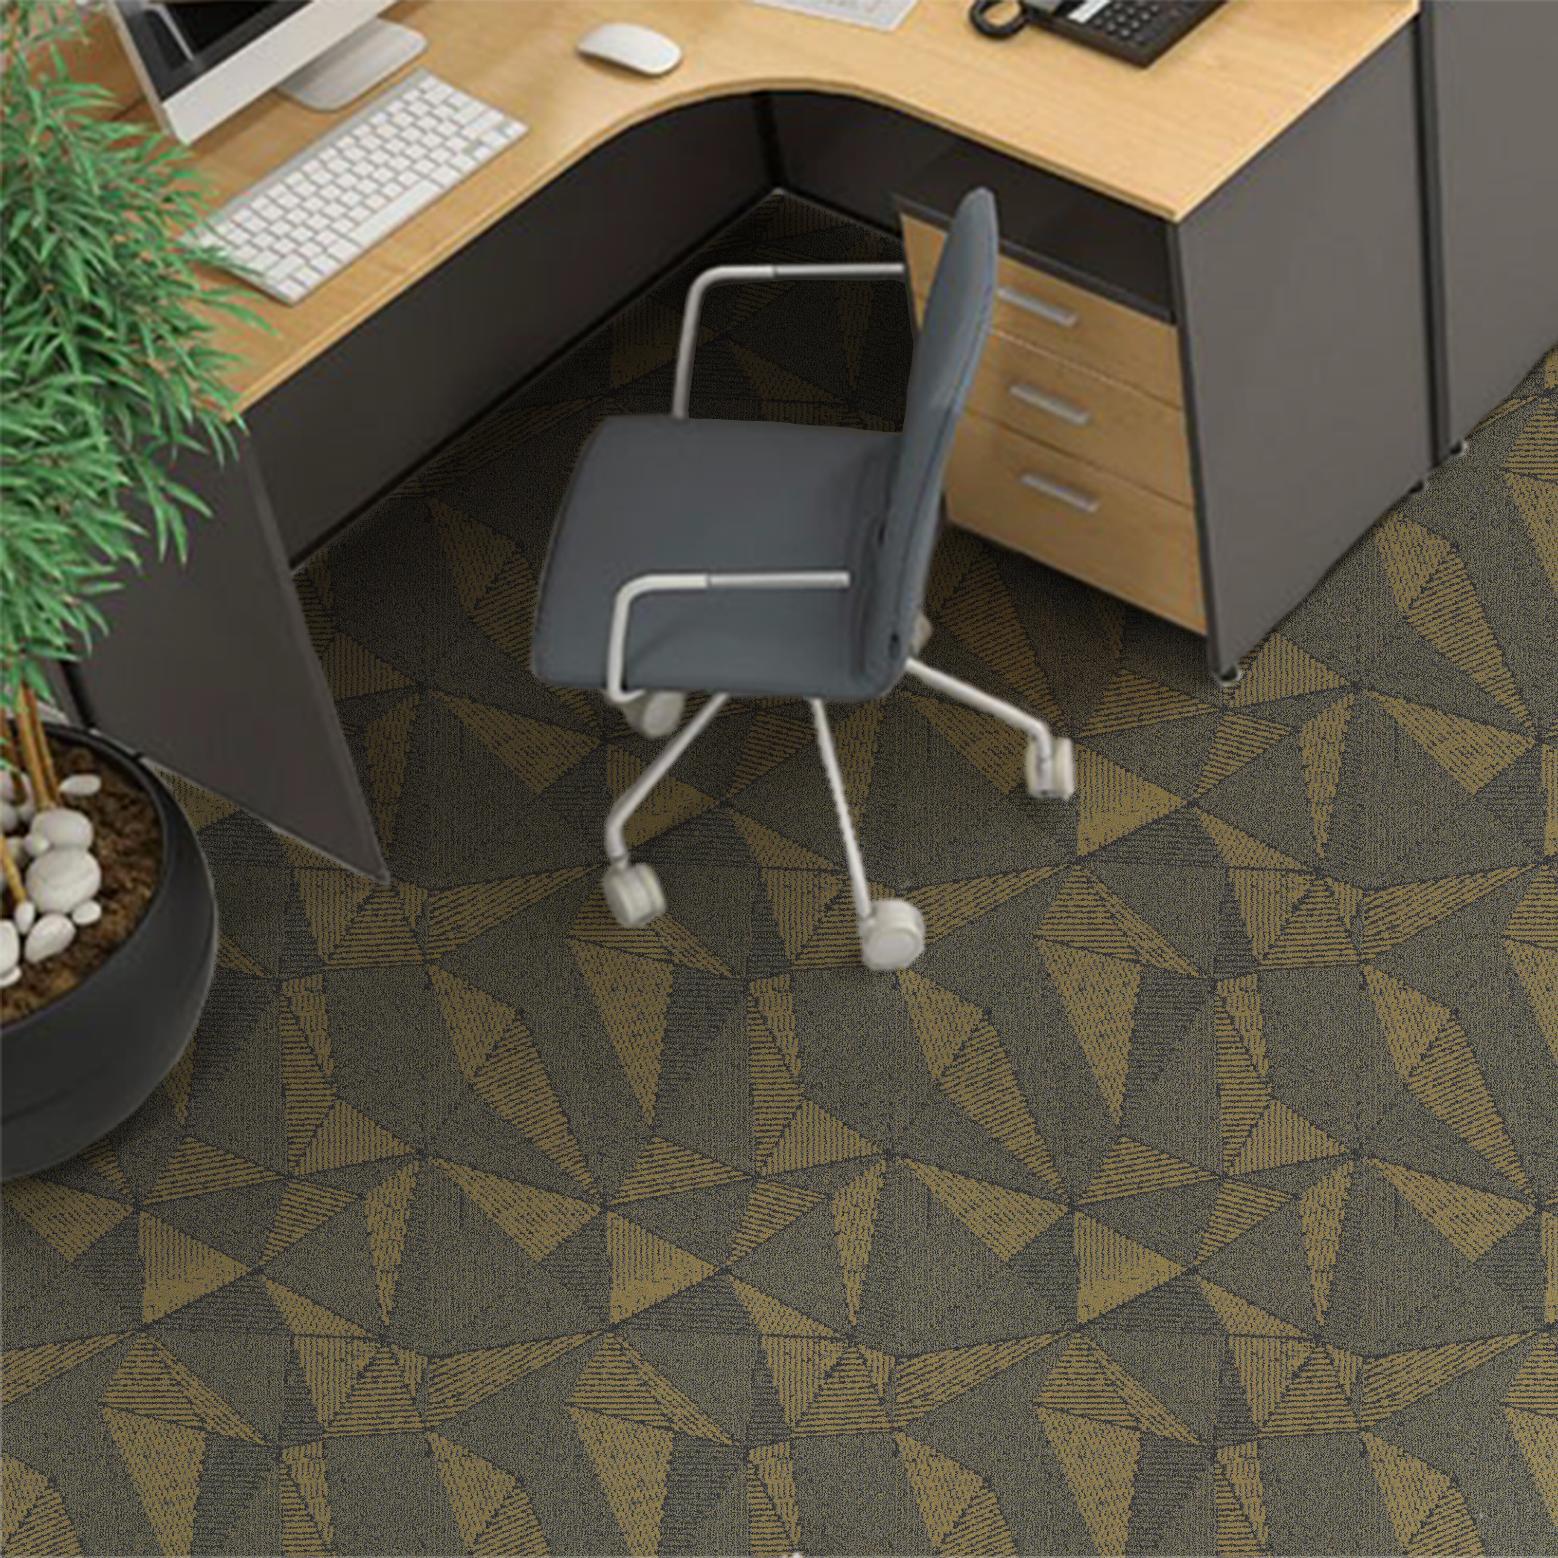
It depends on the design and on the tile. Square tiles can be laid monolithic, quarter-turn, brick or ashlar; planks suit ashlar and herringbone. Each pattern changes how tiles are turned, so set out a few square metres dry and look at them in the room's light before the adhesive goes down. Both sets of layouts are drawn in carpet tiles vs carpet planks, and you can browse the full set of collections under GAIA carpet tiles.
Common installation mistakes
- Starting at a wall: walls are rarely straight, so the whole grid wanders.
- Skipping the moisture test: a common reason tiles lift months later on new screed.
- Too much adhesive, or laying it wet: tiles slide, and the floor becomes hard to lift for repairs.
- Mixing production batches: slight shade differences show across a large floor.
- Pile caught in joints: it leaves visible lines; brush joints open as you go.
What to send us
- a measured drawing of each room;
- the subfloor type and its age, if it is new screed;
- the collection, format and layout you have chosen;
- your timeline and when the site will be ready for flooring.
To work out boxes and spares before ordering, see our carpet tile quantity guide.
Installation questions
Can carpet tiles be installed without glue?
Some tiles are designed for loose-lay or tape systems, but most commercial installations use a releasable adhesive so tiles stay put yet can be lifted. Use the method specified for the tile.
How long does it take to install carpet tiles?
Laying itself is quick once the subfloor is ready; preparation and adhesive drying usually take longer than the laying. An occupied office can be done in sections, moving furniture as each area is finished.
Can you walk on carpet tiles straight after installation?
Usually yes with a releasable adhesive, but follow the adhesive's own instructions before moving heavy furniture back.
Floors that start square
Plan your carpet tile installation
Send GAIA by Sanson Floorings your floor plan and subfloor details, and we will advise on preparation, layout and quantities.