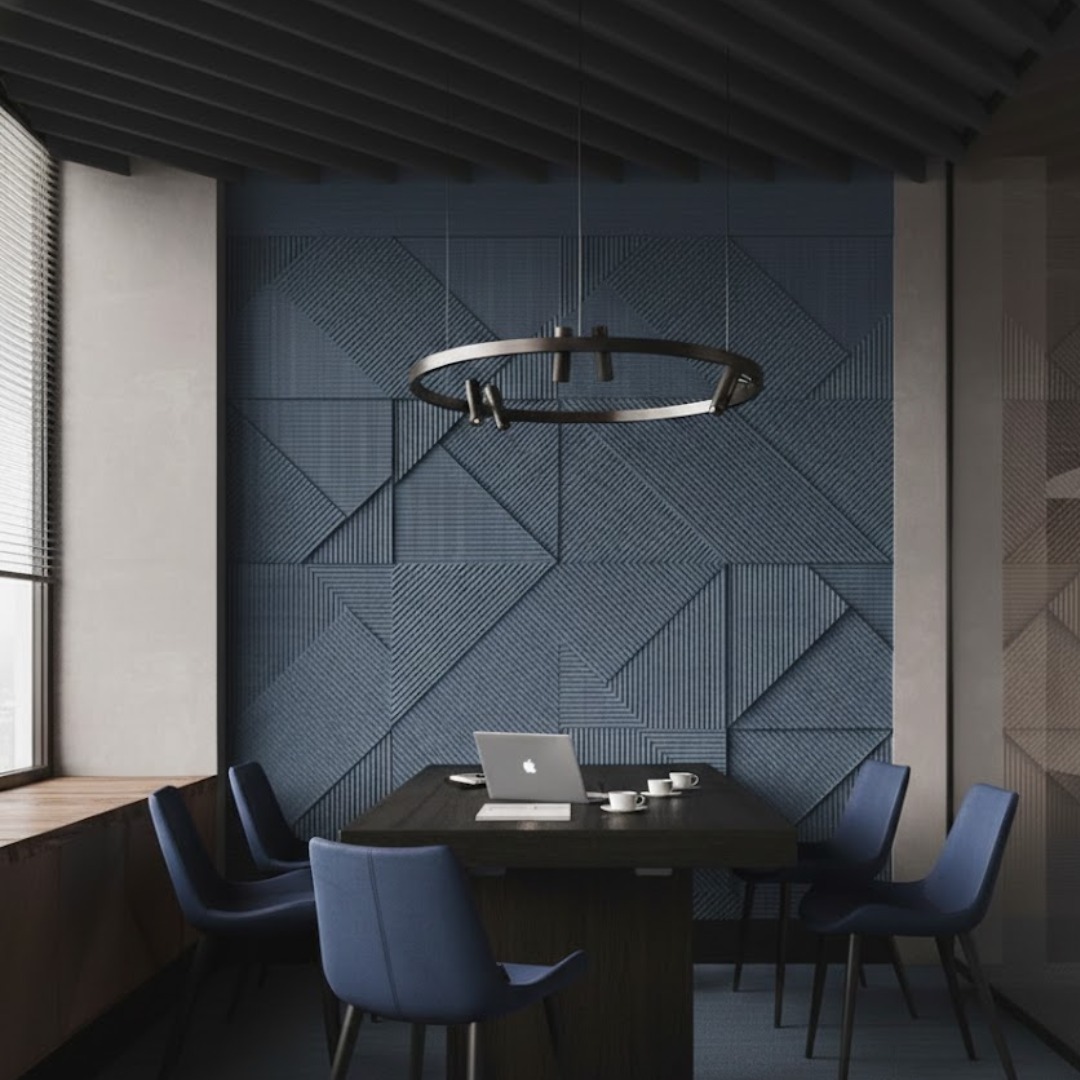
To install acoustic panels, mark every switch and light on a wall elevation, set a level line, then fix panels flat with adhesive or screws, or on battens or clips that leave an air gap. The gap roughly triples what a GAIA by Sanson Floorings PET panel absorbs.
Acoustic panels are one of the few room improvements that go up in a day and change how a space feels immediately. They are also easy to get slightly wrong: a panel cut a few millimetres short of a socket, a row that drifts off level along a long wall, or a beautiful printed wall that absorbs far less than it should because it was glued flat. A little planning before the first panel goes up avoids all three.
Acoustic panel installation at a glance
- Plan: draw the panels on the wall elevation with every fitting marked.
- Choose the mounting: direct fix for slim walls, a cavity for stronger absorption.
- Set out: one level reference line, not the floor or ceiling, guides every row.
- Cut cleanly: a fresh blade and a metal rule for PET, with spares to hand.
- Finish: neat edges, trims where needed, fittings brought forward to the new face.
Which mounting method should you use?
Let the room's need for absorption decide. Laboratories test absorbers in standard mountings defined in ASTM E795, from flat against a hard surface to set off it with a cavity of a stated depth, because the mounting changes the result so much. With GAIA PET panels the gap is wide: NRC 0.3 when stuck directly to masonry against NRC 0.85–0.90 when spaced off it. NRC is measured in a reverberation room under standards such as ASTM C423, with the sample mounted the way it will be installed, which is why the two figures differ. If the wall cannot take a cavity, a thicker board glued flat recovers some of the difference, as explained in choosing a panel thickness.
- Direct fix: panels glued or screwed straight to the wall. Quick, slim and fine for decorative walls or rooms that need only a little absorption.
- Battens: timber or metal battens fixed to the wall, panels fixed to them. Simple and robust, and the batten depth sets the air gap.
- Clips or rails: interlocking clips or rails on the wall and the panel back. Panels can be lifted off for access or replacement.
- Suspended: ceiling clouds and baffles hung on wires from the slab, adjustable in height.
For the physics, see why panels need an air gap.
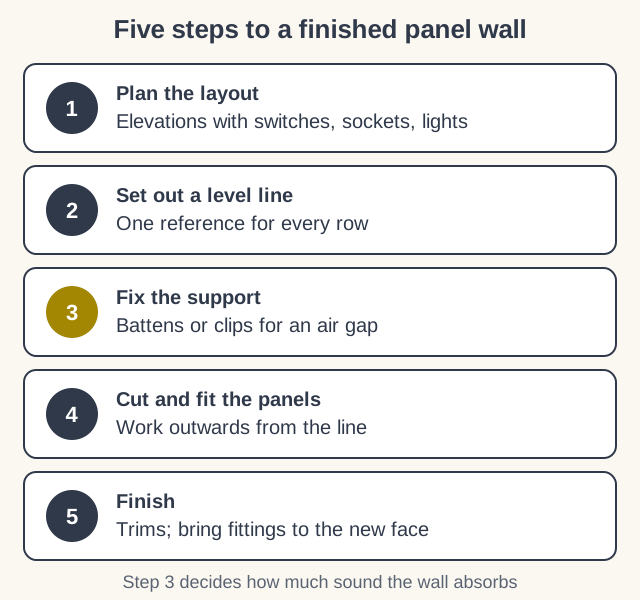
Step by step: installing acoustic wall panels
- Plan the layout. Draw each wall with panel positions, joints, switches, sockets, lights, vents and curtain tracks. Decide where joints fall before anything is cut, especially on printed artwork.
- Check the wall. It should be dry, sound and reasonably flat. Remove loose paint and mark hidden pipes and cables before drilling.
- Set out a level line. Use a laser or spirit level to mark one horizontal reference; floors and ceilings are rarely level enough to follow.
- Fix the support. For an air gap, fix battens or clips to the wall at the spacing the panel needs, packing them true where the wall is uneven. For direct fixing, clean and prime the wall as the adhesive requires.
- Cut the panels. PET panels cut cleanly with a sharp utility knife and a metal straightedge in a few firm passes; change blades often. Measure cut-outs for fittings from your reference line, not from the edge of the last panel.
- Fix the panels. Work from the reference line outwards, checking level every few panels, and keep joints tight and consistent.
- Finish. Fit edge trims or returns where the cavity would show, and have the electrician bring back boxes forward so switches and sockets sit on the new face.
How do you work around switches, sockets and lights?
Plan them, then cut them, never the other way round. On a direct-fixed wall, a socket only needs a neat cut-out. With a cavity, each fitting finishes set back from the new surface, so it needs an extension box or a new mounting brought forward, and wall lights must be fixed back to the structure rather than to the panel. Agree these details with your electrician before panels arrive on site.



Baffles hung in rows, ceiling panels on a grid and free-standing screens: each needs its own fixing plan.
How are ceiling panels installed?
Usually suspended from the slab on adjustable wire kits, or fixed to the ceiling on a frame. Clouds hang flat over desks, tables or seating; baffles hang vertically in rows. Fix suspension points into the structure, never into a false ceiling board, keep clear of sprinklers, detectors and air outlets, and draw the layout on the ceiling drawing together with lighting. GAIA ceiling baffles and clouds come with integrated suspension fittings and can be hung vertically or horizontally, and they are shown, with the open cell ceiling, in the GAIA acoustic range.
Common installation mistakes
- Gluing panels flat when the room needs real absorption: the wall looks finished but the echo stays.
- Following the floor or ceiling: rows drift visibly off level along long walls.
- Cutting before the electrician has marked fittings: holes in the wrong place cannot be undone.
- Breaking a printed design at the wrong place: plan joints with the artwork.
- Fixing wall lights to the panel face: fittings need support from the structure behind.
Before you start
- Work out how much area the room needs: see how many panels you need.
- Choose the panel type and thickness: see acoustic panels for walls.
- Agree the mounting depth, which sets the finished face of the wall.
- Mark every fitting on the elevations and share them with the electrician.
- Order a few spare sheets for offcuts and future repairs.
What to send us
- wall drawings or measurements, every fitting marked;
- the wall construction: brick, block, concrete or board;
- the panel finish you want, and any artwork;
- photographs of each wall.
Our team will recommend the mounting, the fixing details and the panel layout for each wall. Before ordering from any maker, the checks in what to check when buying PET panels are worth a few minutes.
Installation questions
Can you install acoustic panels without drilling?
On a sound, smooth wall, panels can be fixed with a suitable adhesive, which suits direct fixing. Air-gap mounting needs battens or clips, which are normally screwed to the wall.
Can acoustic panels be installed in a rented home?
Yes, with fixings that can be removed and the holes filled afterwards, such as clips or light battens. Agree the method with the owner first.
How long does it take to install acoustic panels?
A single feature wall glued flat can be done in a day. Battens or clips for an air gap, cut-outs for fittings and ceiling suspension add time, so plan a larger room over two or three days.
Can PET acoustic panels be cut on site?
Yes. GAIA PET panels come as 1220 × 2440 mm sheets, made at GAIA's plant in Kothur, near Hyderabad, and they can be cut on site into tiles, strips and openings for fittings.
Fixed right, first time
Plan your acoustic panel installation
Share your wall elevations and photographs with GAIA by Sanson Floorings, and we will recommend the panels, mounting and layout for each wall.